
Natural branch cat tree: preparing the wood properly
An attractive branch found in the garden can inspire you to create a unique support for your cat. Yet its appearance tells you nothing about its species, the moisture inside it or any products it may previously have encountered. For a natural branch cat tree project, preparation therefore begins before any cutting. The aim is simple: keep only wood that can be identified, is sound and has been properly prepared, even if that means abandoning an appealing piece with an unclear history.
Natural branch cat tree: identify before collecting
Start by establishing which tree the branch came from. A branch still associated with its trunk, leaves and fruit offers more clues than an isolated piece beside a path. Photograph these features before collecting it, with the owner's permission. An approximate identification based only on the colour of the wood is not enough to decide whether to use it.
If identification remains uncertain between several species, have the photographs and, if necessary, a sample examined by a professional competent in plant identification. An app can help guide your search, but does not provide confirmation. You must know the species before assessing its suitability for an object your cat may scratch, lick or chew.
Do not confuse natural wood with suitable wood. Reject species known to be toxic to cats, along with any branch whose identity remains uncertain. A resinous, sticky or heavily oozing surface is also a reason to set the piece aside rather than simply cover it.
Trace the wood's history and reject unknown treatments
Where you find the branch matters as much as its species. Ask whether the tree has been treated and whether the wood was stored near chemicals. A piece from a workshop, building site or old installation may have been impregnated, painted or varnished, even when its surface appears to have returned to bare wood.
Reject wood with traces of paint, suspicious colouring, oily deposits or a chemical smell. However, the absence of these signs does not prove that it is untreated. If nobody can clarify its origin, choose another piece instead. Sanding or washing cannot guarantee the removal of a substance that has penetrated the fibres.
Do not apply insecticide, fungicide or homemade mixtures as a precaution to make questionable wood acceptable. If you are considering a finish, check its intended use and every application requirement in the manufacturer's instructions. Without clear information covering the intended use, do not apply it.
Examine the bark, fibres and weakened areas
Inspect the branch in good lighting, along its entire length and at both ends. Look for soft, crumbly or spongy areas, cavities and deep cracks. A branch can feel firm on the surface while being damaged elsewhere. Do not try to rescue a suspect section by hiding it beneath rope or another covering.
Also look for small holes, tunnels, piles of sawdust, visible insects and signs of mould. These findings justify pausing the project and seeking professional advice about the wood. Keep the piece out of your cat's reach during this examination. If parasites are present on the animal or in its surroundings, consult a vet about what to do.
Remove pieces of bark that come away easily and examine what they concealed. If you retain some bark, it must remain firmly attached, without crumbly edges or suspicious pockets underneath. Its decorative appearance must never prevent you from inspecting the material below it.
Allow drying without mistaking a dry surface for ready wood
A freshly cut branch still contains moisture, even if it does not wet your hand. Put it in a sheltered, ventilated space inaccessible to your cat, allowing air to circulate around it. Avoid direct contact with damp ground. Drying must be able to continue without condensation or the appearance of mould.
There is no universal drying period that can be deduced from the branch's appearance. Species, thickness, initial condition and the conditions in the space all influence the process. Turn the piece regularly to examine every side. Watch for distortion and new cracks: a barely noticeable defect can become more pronounced during this stage.
A suitable measuring device can help assess moisture, provided you follow its instructions, particularly the settings for the wood and the measurement points. Ask a professional to interpret any uncertain result. Do not improvise by putting the branch in a domestic oven or applying intense heat to speed up preparation.
Remove splinters and check the finished surface
Once the wood is dry and has been examined again, remove small, pointed twig stubs and projections that could catch a paw. Work gradually to round off edges without unnecessarily hollowing out the branch. For tools and abrasives, check the manufacturer's instructions for technical guidance and the protective equipment required.
Sand along the grain, then remove the dust thoroughly. Examine the surface with light falling across it at a low angle, and run a cloth over it to find snags rather than a bare hand over a suspect area. Repeat locally if fibres lift. Reject a piece if a crack continually sheds splinters.
This prepared wood is only a material, not yet validated equipment. The AAFP and ISFM guidelines on feline environmental needs (2013) recommend, among other things, elevated perches and scratching opportunities; they do not validate any particular branch. After use, any pain, limping, fall or change in behaviour should prompt consultation with a vet.
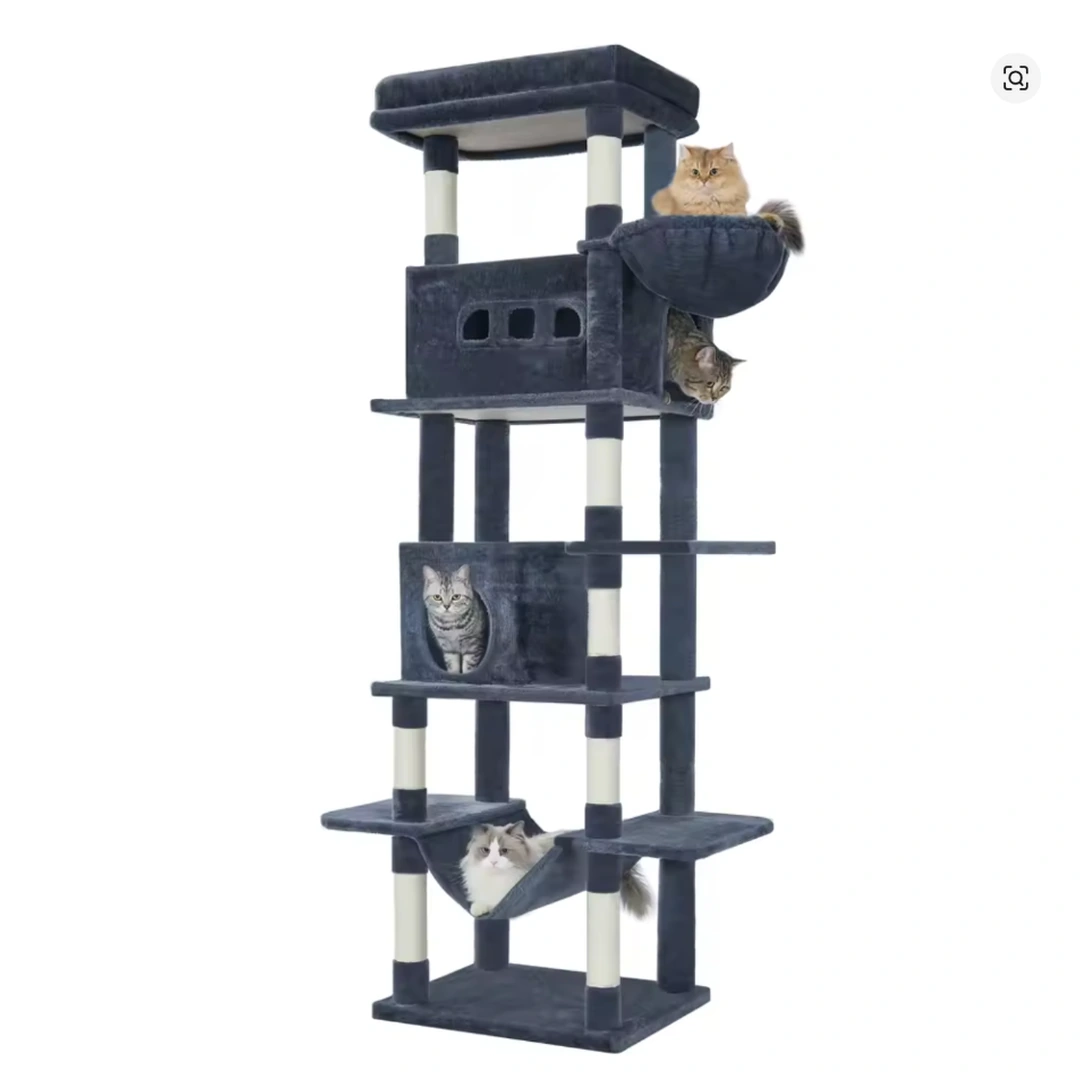
VEYRULIS is preparing a tall, multi-level cat tree tower measuring 210 cm, still at the draft stage and not yet for sale. Its price has not been approved, and its colour variant remains to be confirmed. Unlike a salvaged branch requiring individual examination, its specifications will need checking in the instructions for the model delivered, without making assumptions about its materials.
Sources and further reading
This advice is for information only and does not replace your veterinarian's opinion.