
Build a cat tree: planning your DIY project
Behind a search for “build a cat tree” is often the wish to create something suited to your companion, alongside the pleasure of making it yourself. Before reaching for the saw, however, turn that idea into a practical project file. A sketch, shopping list and budget are not enough on their own: you also need to plan how to check the finished structure and decide whether the project remains reasonable given your skills.
Build a cat tree: define the needs before drawing
Start by observing your cat during its usual activities, without encouraging jumps to measure its abilities. Note what it seeks: watching from above, retreating, stretching to scratch or staying close to you. The AAFP and ISFM guidelines on feline environmental needs (2013) discuss hiding places, elevated perches, separate resources, scratching, familiar smells and respectful interactions, among other things. These points help determine the project's functions; they do not provide a basis for calculating its structural strength.
Next, write a project brief covering priority uses, available space, surfaces accessible for inspection and parts you want to be able to replace. Separate your cat's needs from your own decorative preferences. Keep a first build simple, with joints that you understand and can inspect. If your idea relies on complex cuts or fixings you are unfamiliar with, have a suitably qualified professional assess its feasibility before you buy anything.
Draw a plan that lets you check everything
Draw the whole structure from the front and above, then add a view of the joints. Give each piece a reference and record its planned dimensions, material and function. The drawing should show contact areas, fixing points and the access needed for tools. Above all, use it to identify conflicts before cutting: an inaccessible screw, a surface that cannot be removed, or a connection whose method of holding together you cannot explain.
Prepare a sheet for each joint, listing the references of the proposed components and any outstanding questions. Check every technical point against the relevant manufacturer's instructions: material compatibility, any preparation required, installation conditions, tightening and restrictions on use. Missing or unclear instructions are not permission to improvise. Ask the manufacturer for confirmation and seek professional advice on the overall design if necessary. Keep these documents together with a dated version of your plan.
Create a materials list you can actually use
Your list should follow the plan piece by piece, rather than an idea inspired by a picture. Include separate categories for panels, supports, hardware, scratching surfaces and any finishes. For each entry, record the quantity established from the drawing, dimensions, proposed product reference and information still needed. Add a “verified” column: this helps distinguish an appealing material from a component whose suitability for use in your particular project has actually been confirmed.
Choose identifiable materials with supporting documentation. Reject pieces whose origin, treatment or condition remains uncertain. Consider edges, splinters, protruding elements and small parts that might come loose at this stage. For any adhesive or finish, ask the manufacturer to confirm suitability for the intended use and follow its instructions, particularly waiting times before use. Reassuring marketing wording is no substitute for these checks. Include the consumables and protective equipment needed for the work as well.
Build a budget before you start shopping
Create a table with categories for materials, cutting carried out by a service provider, hardware, consumables, tools you lack, delivery and any professional support. Enter amounts only from quotations or prices you have actually checked. Separate items you already own from those you need to buy, without assuming your tools are automatically suitable. A machine you have available but do not know how to use properly may make outsourcing more appropriate than doing everything at home.
Add a category for costs that remain uncertain, such as a cut that may need redoing or a component whose reference still needs confirmation. Do not approve the total while these items remain unresolved. Set your own spending limit and a decision point before ordering: continue, simplify the design or abandon the project. Allow time for preparation, sourcing and checks too. This schedule helps avoid rushed substitutions when a part is missing at the last moment.
Plan checks and reasons to stop
Before building, write a checklist covering every joint and accessible surface. Plan an inspection at each stage, and again before the cat has any access: conformity with the plan, complete fixings, and no noticeable play, cracks or hazardous parts. Technical checking procedures must follow the applicable instructions. Do not replace design validation with an improvised test using your body weight or heavy objects: such a test does not demonstrate that the whole structure is safe.
Also decide what would make you stop: damaged material, an uncertain connection, deformation or a result that differs from the approved plan. While any doubt remains, keep the structure inaccessible and seek competent advice. Your cat must never be used to test structural strength. Once it is available to use, schedule regular inspections and prevent access if a defect appears. Consult a vet about any pain, limping, fall, parasites or behavioural change, rather than automatically blaming the build.
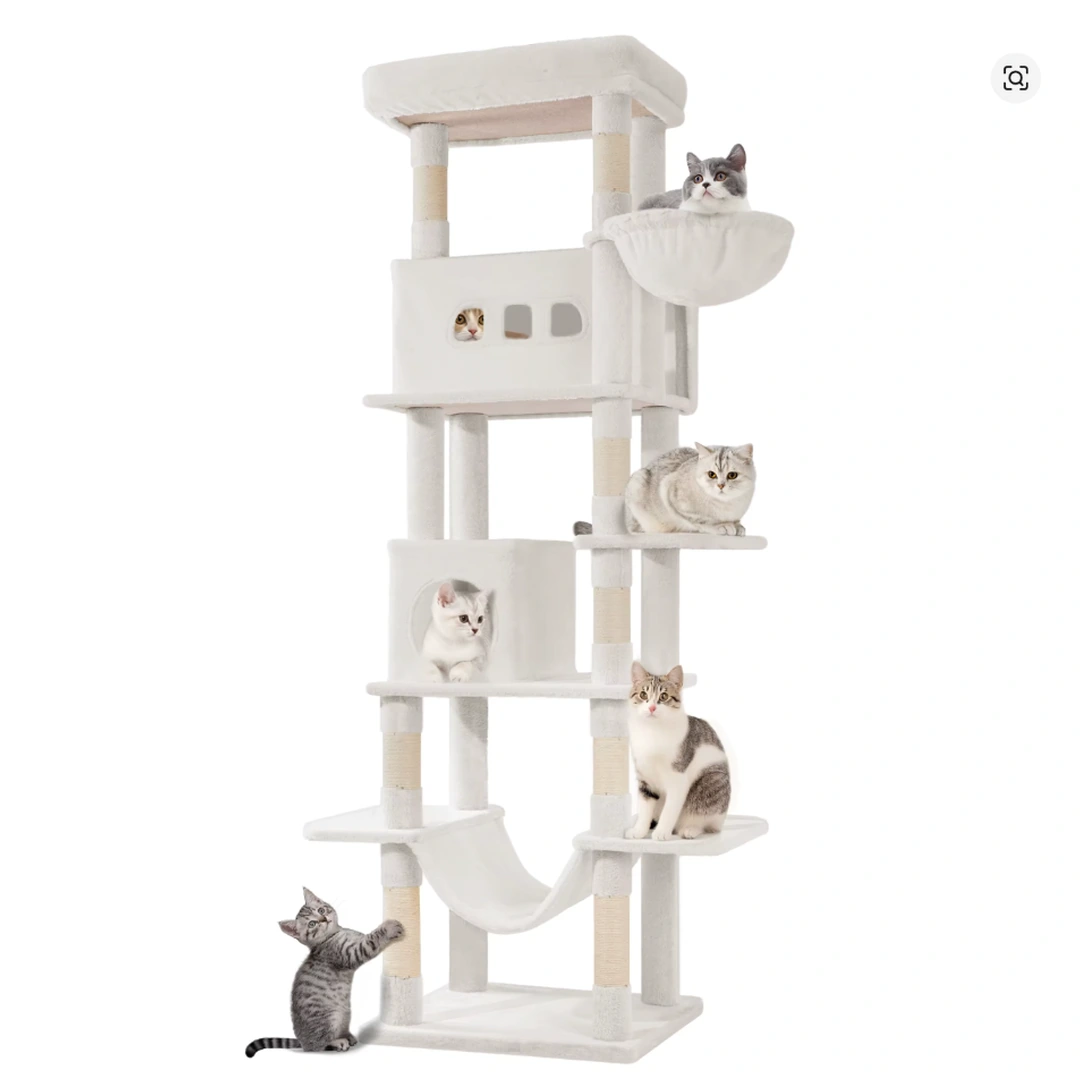
To help you compare your DIY project with a ready-made option, VEYRULIS is preparing a 210 cm tall, multi-level cat tree tower. It is not yet for sale: its price has not been approved and its colour variant remains to be confirmed. Its specifications will need checking against the instructions for the model delivered, just as the components of your own build require verification.
Sources and further reading
This advice is for information only and does not replace your veterinarian's opinion.