
Securing a cat tree to the wall: fixings and precautions
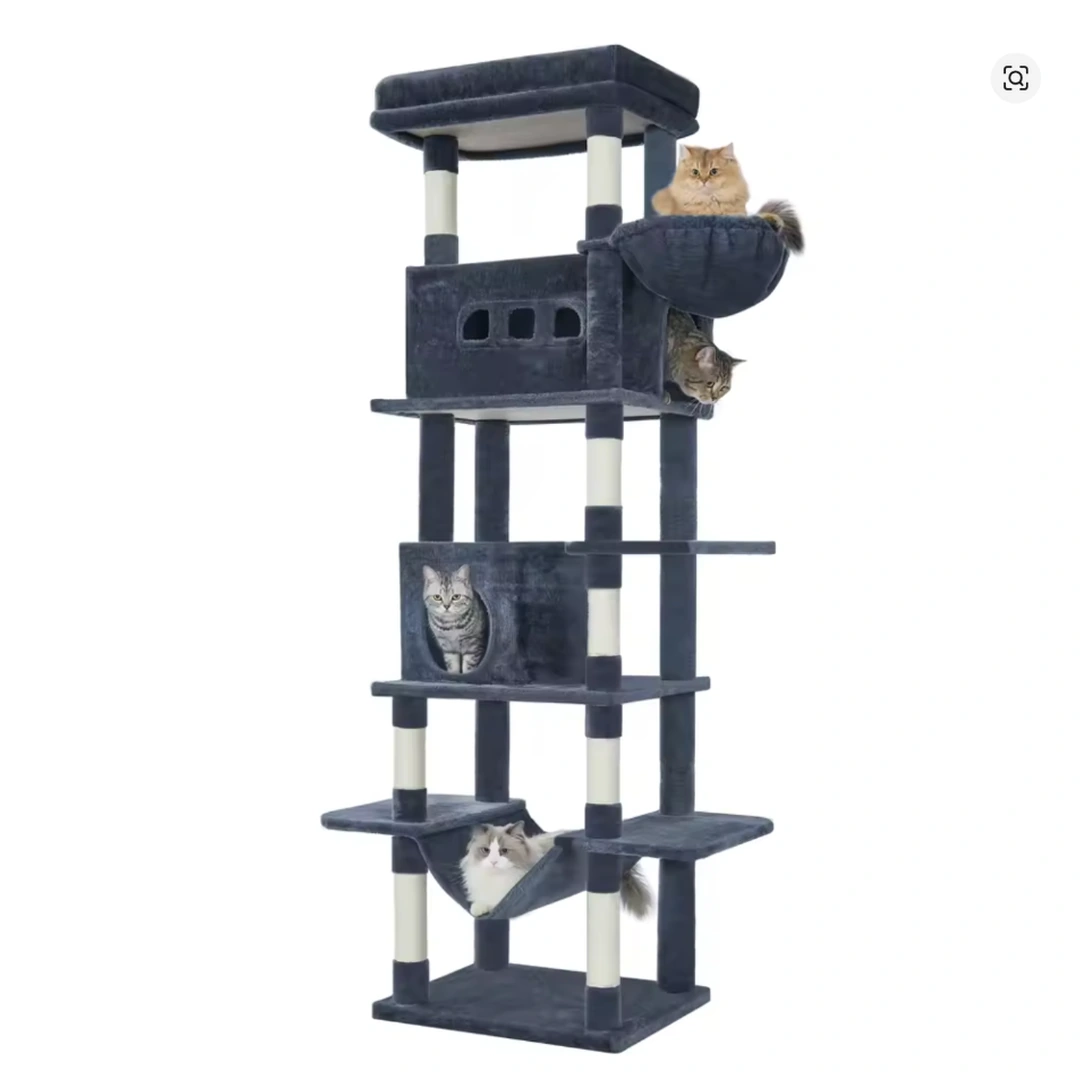
Want to secure a cat tree to the wall to reduce the risk of it tipping over? This restraint is different from a suspended installation: the tree stays on the floor, with a connection designed for this purpose linking it to the wall. That connection cannot make damaged furniture safe. Before drilling, three things must agree: the arrangement approved by the manufacturer, the wall’s construction and suitable fixings. Here is how to prepare the anchor without improvising an installation whose strength would be unknown.
Securing a cat tree to the wall: understand the anchor’s role
An anti-tip strap or bracket restrains the tree in the configuration specified by its manufacturer. It is not intended to carry its platforms or replace its base. Read the instructions to identify the attachment point, supplied hardware and installation conditions. If no wall fixing is mentioned, ask the manufacturer whether a compatible arrangement exists. Do not add a screw to a panel simply because it looks thick enough to take one.
This work must also preserve everyday use of the equipment. The AAFP and ISFM guidelines on feline environmental needs (2013) emphasise, among other things, the importance of hiding places, elevated perches and scratching. They are not, however, fixing instructions. The anchor must keep access routes and usable surfaces clear, without creating an accessible loop or projecting part. Technical requirements remain those of the chosen model and fixing system.
Identify the wall behind the finish
Paint, wallpaper or tiles do not reveal the material that will receive the wall plug. A wall may be concrete, solid or hollow masonry, or plasterboard in front of another structure. Do not therefore choose fixings solely by the appearance of the surface covering. Consult the available information about the property and, if in doubt, have a competent person identify the underlying material before you start drilling.
In a solid material, the system must be intended for that material and the proposed use. In hollow masonry, the cavities affect the choice of fixing. With plasterboard, its construction and any supporting framework must be considered; locating a stud alone does not validate the installation. Wall lining or insulation also requires particular checks. Have the solution confirmed by the fixing manufacturer or a professional.
Choose a genuinely compatible connection
Start with the kit specified in the cat tree instructions. A strap, metal fixing plate and rigid bracket are not automatically interchangeable: each requires particular positioning and connection points. Also check what any included wall plugs are intended for. Being supplied in the box does not mean they suit your wall. If the underlying material requires different hardware, have its compatibility with the whole assembly confirmed before replacing a kit component.
The screw, wall plug, wall bracket and attachment on the tree must form a compatible assembly. Diameter, length, anchoring depth, hole positions and tightening must be checked in the relevant instructions, never guessed. A skirting board can hold the tree away from the wall: do not compensate by bending a bracket or stacking improvised spacers. Ask for an approved solution. Avoid adhesive hooks and attachments repurposed from other uses unless explicitly approved for this anchor.
Prepare for drilling and follow the instructions
Before starting any work, locate services that might cross the area: electricity, water or heating. Use available plans and suitable detection methods, taking their limitations into account. Any uncertainty about the route of a service is reason to stop work and consult a professional. If you rent, also check what permission is needed to drill. Keep your cat out of the room during the work and remove dust, screws and packaging.
Then place the tree in its final position to mark the prescribed fixing locations, without pulling the connection towards a more convenient point. Follow the manufacturer’s instructions for the drill bit, drilling mode, hole preparation and fitting the fixings. Adjust the strap or position the bracket exactly as directed. Do not try to eliminate all play if the instructions specify otherwise, or tighten further to disguise a spinning plug or crumbling wall material.
Check the anchor without putting it to the test
Once installation is complete, perform only the checks described by the manufacturers. Hanging from the tree, pulling it sharply or making your cat climb it to test the connection proves nothing and may damage the installation. Visually check that components are properly seated, nothing is deformed and the strap follows the prescribed route. If a fixing moves, the wall cracks or an attachment looks damaged, prevent access until the problem has been assessed and corrected.
Keep the instructions and a record of the fixings used to make later checks easier. Follow the recommended inspection frequency and re-examine the anchor after any move or incident. A removed connection cannot automatically be reinstalled with the same components: the conditions for reuse must be confirmed. Finally, anchoring does not replace observing your cat. Consult a vet for any signs of pain, limping, a fall, parasites or behavioural changes, even if the equipment appears intact.
VEYRULIS is preparing a tall, multi-level 210 cm cat tree, not yet for sale on accessoireschat.com. Its price has not been approved and its colour variant remains to be confirmed. Specifications must be checked in the instructions for the model delivered, particularly the anti-tip anchoring options, authorised attachment points and wall fixing requirements.
Sources and further reading
This advice is for information only and does not replace your veterinarian's opinion.