
How to assemble a cat tree: method and mistakes to avoid
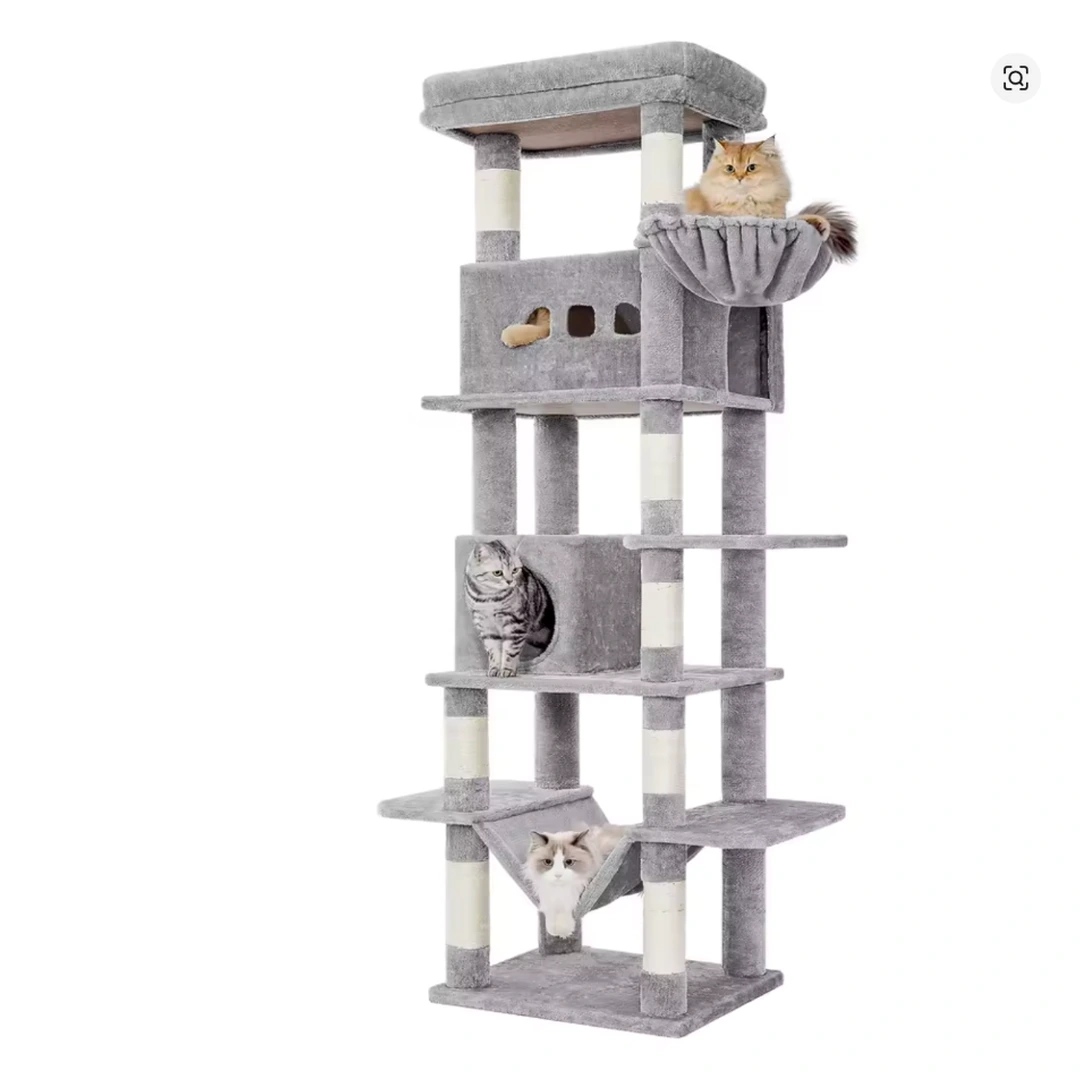
An open box, almost identical posts and several bags of screws: assembly seems obvious until a platform ends up upside down. To assemble a cat tree methodically, prepare your workspace rather than having to correct a mistake at the end. The aim is simple: identify every component, follow the correct sequence of operations and check the whole structure before letting your companion explore it. The manufacturer's instructions remain your technical reference throughout the process.
Prepare your workspace and take a useful inventory
Start in a clear space with enough room to spread out the components without blocking the walkway. Keep your cat away during unpacking: bags, small fixings and precariously balanced parts must not become playthings. Protect the floor with a clean covering that does not interfere with your work. Keep the packaging until you have finished taking the inventory, as a washer or accessory may still be caught inside a fold.
Arrange panels, posts, resting areas and fixings in groups, then compare each group with the parts list. Copy the references from the instructions onto pieces of paper placed beside the components, rather than sticking labels onto their surfaces. Separate the screws according to the manufacturer's guidance; do not assume two similar-looking types are interchangeable. If anything is missing, appears damaged or does not match the diagram, stop assembly and ask the seller for clarification.
Assembling a cat tree: follow the order in the instructions
Read all the instructions before starting, including boxed notes and detailed views. This helps you identify any fixing that will become inaccessible once a panel is fitted. Establish which side of the base faces up, the orientation of openings and the correct direction of asymmetrical components. Lay the relevant parts beside the diagram before joining them together. A sales photograph can help you visualise the result, but it cannot replace the instructions.
Then follow the steps in the stated order, without assembling in advance every section that seems independent. On some models, a screw passes through a platform into a post; on others, the connection is different. This is exactly the sort of detail to check in the instructions for the delivered model. Before moving on, compare your assembly with the drawing: component count, orientation and fixing positions. This brief pause avoids dismantling several levels to correct a reversed part.
Assemble without forcing or improvising
Use the tools specified by the manufacturer and follow its tightening instructions. Only use a power tool if the instructions permit it and explain how it should be used. If a fixing resists as soon as you start inserting it, stop: check its reference, the alignment of the parts and the assembly direction. Do not try to overcome resistance by pressing harder. A component that does not naturally reach its position needs checking, not another drilled hole or a randomly chosen screw.
Where the procedure calls for temporary positioning before final tightening, keep this as a separate stage. Conversely, do not deliberately leave every connection loose unless instructed to do so. Support components while fitting them so their weight does not rest on an unfinished connection. If a section is bulky, ask someone to help hold it, following the precautions in the instructions. Do not lift the whole structure by a resting area or accessory.
Check every connection before allowing access
Once assembly is complete, go through the diagrams again from the beginning. Check that every required fixing is present and correctly installed according to the instructions. Examine joints, platform undersides and less visible areas. No component should remain crooked, and no covering should be trapped in a joint if that conflicts with the intended assembly. If screws are left over, check whether the parts list identifies them as spares; never simply assume this.
Next, carry out the manufacturer's required structural checks on the floor where the tree will be used. Meet every requirement for additional securing before allowing access. Do not test platforms by standing on them or invent your own load test. At any unusual looseness, movement in a joint or doubt about assembly, keep your cat away and revisit the relevant step. Finally, put away tools, packaging scraps and small parts, then check that nothing has been left in a resting area.
Finish with supervised exploration at your cat's own pace
After checking, let your cat approach independently, without placing them on the top level to “try it out”. The AAFP and ISFM guidelines on feline environmental needs (2013) highlight the importance of hiding places, elevated perches, scratching opportunities and respectful interactions. They explain the value of this equipment but are not assembly instructions. For technical checks and how often to perform them, follow only the manufacturer's guidance.
Watch the first explorations without encouraging jumps or luring your cat towards any section that is still in doubt. If a problem appears, prevent access before intervening and consult the instructions or customer service. Keep the model reference, instructions and any identified spare parts for later checks. For any sign of pain, limping, a fall, parasites or behavioural change, consult a vet: checking the assembly is no substitute for veterinary advice.
VEYRULIS is preparing a 210 cm tall, multi-level cat tower for accessoireschat.com. It is not yet for sale: the price has not been approved and the colour variant remains to be confirmed. Before assembling it or allowing your cat access, check the specifications and technical guidance in the instructions supplied with the model delivered to you.
Sources and further reading
This advice is for information only and does not replace your veterinarian's opinion.