
Replacing Sisal Rope on a Cat Tree: Steps for a Tidy Finish
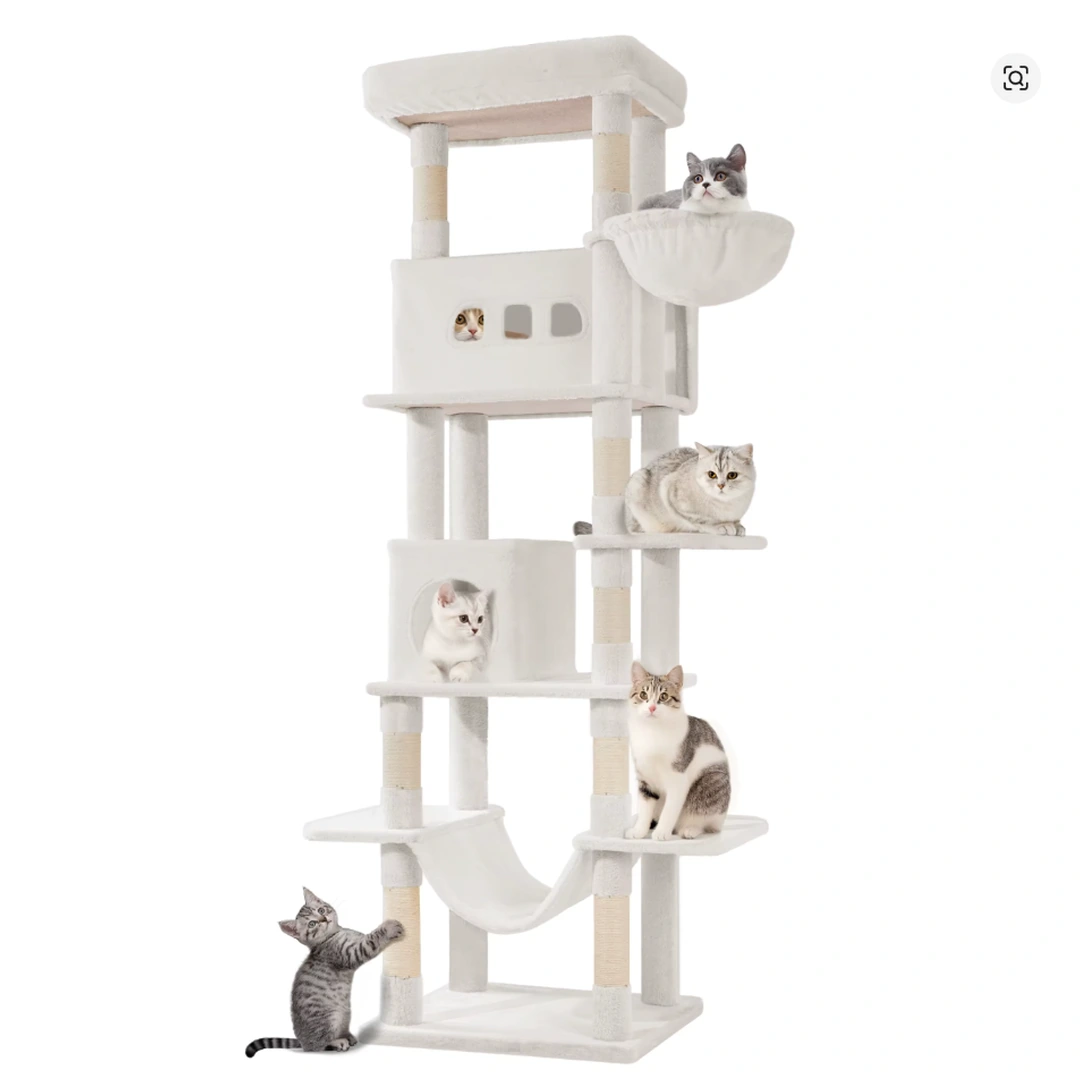
When sisal rope begins unravelling, gaps open between coils, and the internal core is exposed, the scratching post requires proper renewal. In addressing the need to replace cat tree sisal rope, a methodical approach is far better than temporarily concealing the damage. The goal is to remove the worn cord, calculate an adequate length of new rope, and produce a neat, consistent surface without leaving hazardous fixings exposed. Before starting, consult the manufacturer's manual to confirm compatible core materials, approved dismantling steps, and safe fastening techniques.
1. Preparing the workspace for replacing cat tree sisal rope
Isolate the workspace so your cat cannot reach cut cord ends or tools. Prepare a flexible tape measure, sturdy gloves, pliers, and a suitable cutting blade. If the manual permits removing the post, work on it separately. Take photographs of both wrapped ends first to understand how the cord was originally secured.
Examine the exposed core, as well as the starting and finishing points. Frayed sisal does not justify hiding a warped tube or cracked base. If the core's condition appears doubtful, suspend the replacement and seek manufacturer advice. This procedure applies solely to worn wrapping on an undamaged, structurally sound post.
Note the recommended rope diameter and material specifications. Choosing thicker cord is not automatically an upgrade: it alters the total turn count and may prevent end fittings from closing properly. Check whether the manufacturer provides a reusable fastening system or specific guidelines to maintain consistent tension without overstressing components.
2. Stripping away old sisal rope without damaging the post
Locate the free end and gently unwind the sisal cord. If the rope remains glued, work forward in short sections rather than tugging aggressively. When cutting is required, lift a single strand slightly and cut away from the core and your hands. Avoid gouging the tube to free stubborn sections.
An old staple or tack may appear beneath the final coils. Do not leave it concealed beneath the new cord, as wear will eventually expose it to claws. Remove redundant fixings using an appropriate tool, provided this does not damage the post. If in doubt, consult the manufacturer for safe removal.
Clear away loose fibres and residue that could prevent regular coiling, following the manual's recommendations. Do not use unapproved solvents or harsh strippers that might degrade the core. You may keep an unstretched piece of old cord to verify diameter, but avoid using frayed lengths as an accurate guide for overall length.
3. Calculating the required rope length before ordering
Measure the height needing coverage, excluding end caps, alongside the bare post diameter and new rope diameter. Use the same unit of measurement throughout. For a cylindrical post wrapped with touching coils, the approximate number of turns equals the height to be covered divided by the diameter of the cord.
The length of one turn is calculated by multiplying π by the sum of the post diameter and rope diameter. This calculation accounts for the central path of the cord. Multiply this by the estimated turns. This figure remains an approximation, as manual tension and rope compression will influence actual consumption.
Add extra length for starting anchors, end finishes, and adjustments outlined in the manual, rather than ordering only the theoretical amount. For irregular post profiles, request an estimate from the manufacturer. Record your calculations and check the selling unit before purchasing, as mistaking centimetres for metres will distort your order.
4. Wrapping tightly and securing the ends safely
Begin wrapping using the retaining system specified by the manufacturer. Never add tacks or staples to remedy slipping cord, as metal fasteners covered by only a few coils can easily become exposed over time. If no safe method securely holds the ends without creating accessible hazards, choose a pre-wrapped replacement post instead.
If adhesive is recommended, use only a product confirmed by the manufacturer as compatible with the post and suitable for pet environments. Follow all instructions regarding application, ventilation, and full drying times before reassembly. Glues labelled natural are not automatically suitable. Avoid leaving exposed ridges or drips on the scratching surface.
Wind under steady tension, pressing coils tightly together as you proceed without letting them overlap. Check alignment regularly to correct gaps promptly. Finish according to the specified instructions, ensuring the final end is firmly secured and inaccessible to chewing. Never leave loose loops, trailing threads, or protruding knots that could catch claws.
5. Inspecting the installation before reintroducing the post
After the required settling time, inspect the entire surface and both post ends. Wearing gloves, gently check that the coils do not slide and that no sharp or hard elements protrude. If an end loosens, restrict access to the post and re-do the finishing steps strictly according to the manual.
The 2013 AAFP and ISFM Feline Environmental Needs Guidelines highlight the importance of scratching behaviours and familiar environmental scents. Retain other familiar items during this targeted repair. Afterwards, allow your cat to explore the refreshed post freely, without forcing their paws onto the new cord.
Monitor your cat during initial use, and routinely check thereafter for loosened coils or accessible cord ends. Any signs of pain, limping, accidental falls from the tree, presence of parasites, or unusual behavioural changes mean you should consult a qualified veterinary surgeon promptly.
VEYRULIS is currently designing a 210 cm multi-level cat tree tower. This model is not yet on sale, its price is not finalised, and the colour variant remains to be confirmed. To plan for future rope renewal, post specifications and maintenance guidelines should be verified within the user manual supplied upon delivery.
Sources and further reading
This advice is for information only and does not replace your veterinarian's opinion.